Growing Arisaema from seed:
Want to know how to grow Arisaema from seed? This article should hopefully answer all your questions…
Arisaema are easily raised from seed. If you wish to grow large numbers of plants, seed is the best way to go about it. Depending on the species, expect an absolute minimum of 3 years to produce a flowering sized plant, or more typically, somewhere around 4 or 5 years.
Having experimented over a number of years and raised literally thousands of plants, I’ve detailed my methods below. I should add that I am always learning and always open to new methods and ideas – I don’t claim that this is the best method, only that it works well for me.
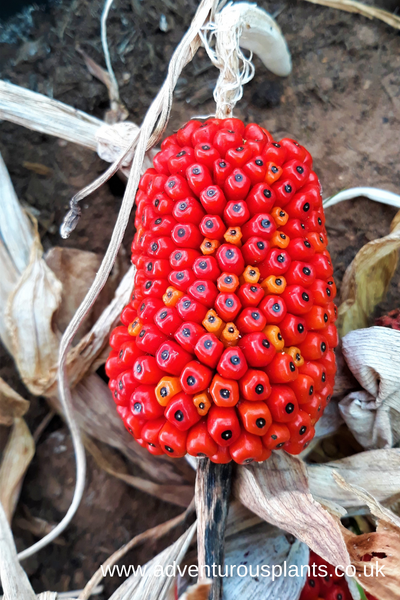
Arisaema seeds will be ripe when the berries are red. The berries contain a natural germination inhibitor, so they will need to be removed from the berries and cleaned before sowing.

My general Arisaema seed sowing method:
Before sowing, I always soak my seeds in water for a minimum of 24 hours, and often 48 hours, changing the water periodically. This helps to soften the hard outer layer of the seed, the testa, and allows it to absorb water ready for germination. In addition, this process helps to remove any of the naturally occurring germination inhibitors found within the flesh of Arisaema berries.
I sow my seeds into a good quality compost mix. I use a 3 part mix of the following components:
1 part good quality multipurpose or seed compost.
1 part vermiculite.
1 part perlite.
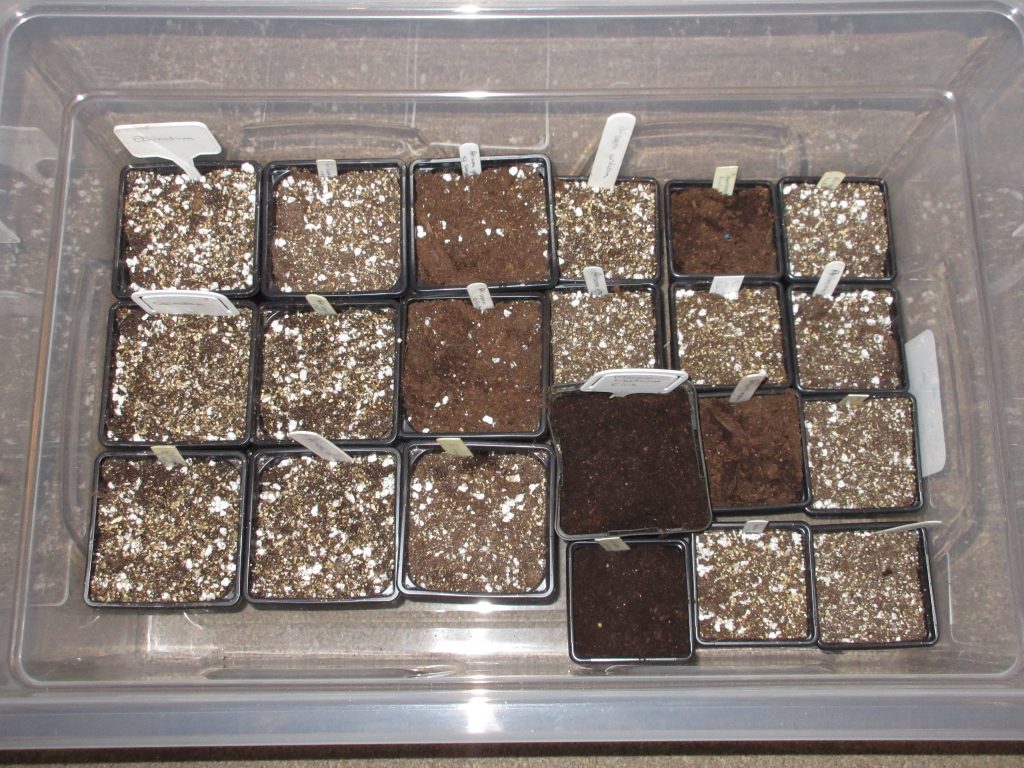
I tend to sow into 7cm or 9cm square pots. It seems fine to sow multiple seeds into the same pot. In fact, the seedlings seem to do well when relatively crowded.
I fill the pots with the compost mix, firm down and lightly water, before sowing the pre-soaked seed onto this. Then cover with a thin layer of 1-2cm of compost. Finally, I lightly water again, being careful not to disturb the compost too much.

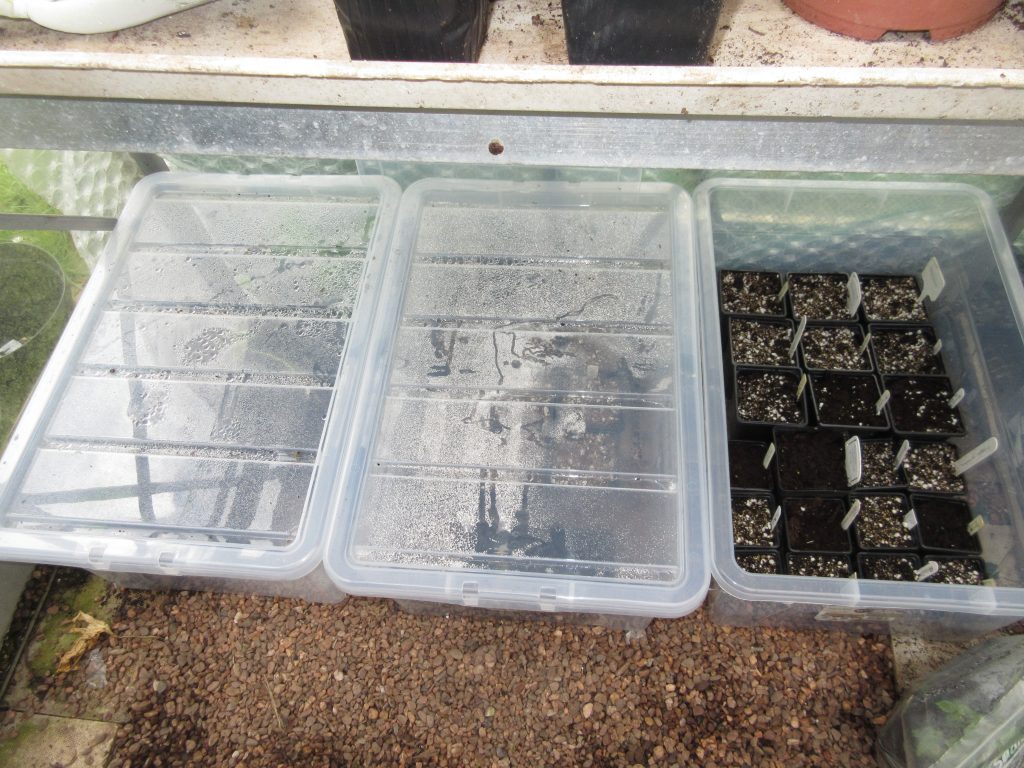
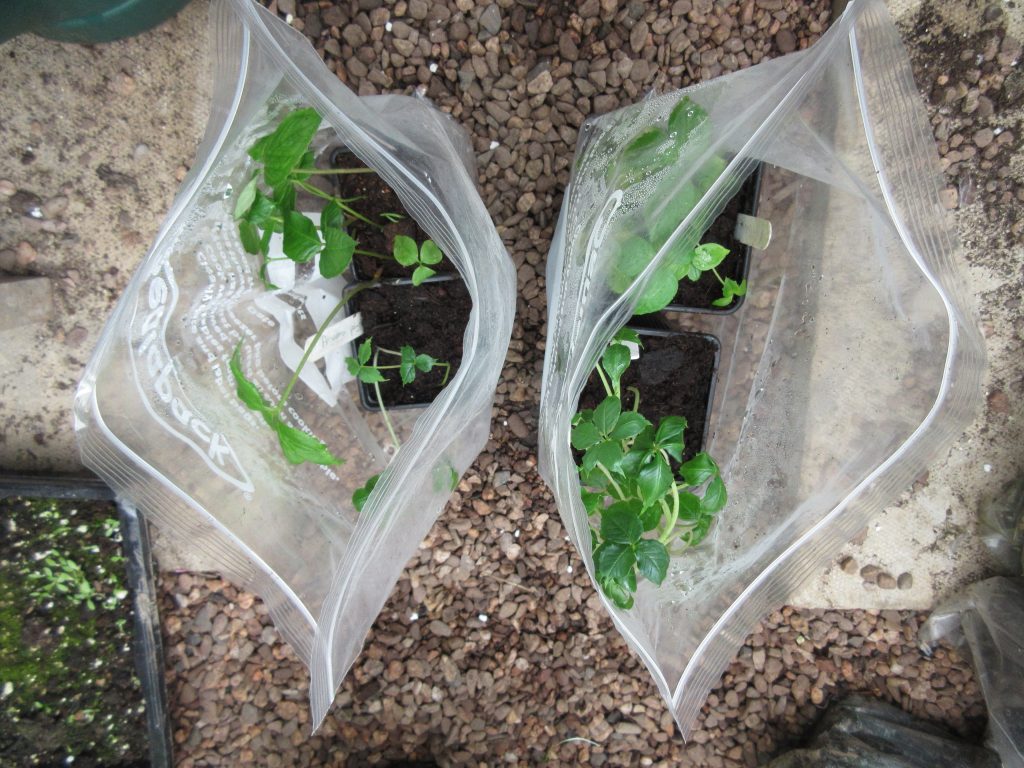
Next, the pots go into clear ziplock freezer bags, or into clear storage boxes. I find I can fit 2 or 3 pots into each freezer bag, or lots of pots into a storage box. This seriously cuts down on my work load, as the pots are in effect self watering and protected from pests. The transparent boxes or bags allow me to check on the seeds with just a quick glance. Once in a while I might open up the bags to let in a little co2, but in reality I doubt this is necessary. It is a good idea to place capillary matting at the bottom of the storage boxes as this keeps each pot wet from the base and makes it easier to maintain water levels in the pots.


I then place the pots underneath my greenhouse or polytunnel staging – and wait! If I have got my initial watering correct, I probably won’t need to water much, if at all, for the entire season.
Germination can take anywhere from 4 – 8 weeks, sometimes a little longer depending on the species and the temperature.
I sow the majority of my seeds around late March or April. This gives the seedlings a nice long season in which to build their new tubers before the temperature drops in the Autumn and the seedlings go dormant.
I rarely unpot the seedlings until the tubers enter their second dormancy. In other words, until they are two years old. At this point the tubers are large enough to handle easily and can be potted on.
It has been observed (both by myself, and other growers) that occasionally one seed may produce 2 seedlings. Presumably due to the seed containing more than one embryo. Just how common this is is difficult to say, and doubtless it goes unnoticed most of the time.
Some points to remember:
Never throw a seed pot away until after 2 years! Occasionally, seed may require a natural period of temperature fluctuations in order to break dormancy and germinate. Also, for reasons I do not fully understand, sometimes seed may display hypogeal germination (ie, it germinates and forms a tiny tuber with no seed leaf), even when this behaviour is not typical for that species. Badly stored or very dry seed is more likely to behave like this.
Don’t repot until the seedlings are 2 years old. I don’t fertilise at all for the first year of growth, but do give occasional dilute liquid feeds during the second year as and when I remember.
Some species never show a seed leaf until their second year. These species include:
Arisaema dilatatum
Arisaema elephas
Arisaema ilaense
Arisaema lobatum
Arisaema thunbergii ssp. autumnale
Arisaema thunbergii spp. urashima
Arisaema thunbergii ssp. thunbergii
Ephemeral Seeds:
I would say that all Arisaema seed is best sown fresh. The fresher the better! However, with some species, seed can safely be stored for long periods without any significant loss of viability. In others, the seed seems very ephemeral in nature and viability is quickly lost.
The list below gives the species where seed is known to be ephemeral:
Anything from Section Arisaema
Anything from Section Nepenthoida
Possibly Arisaema lobatum.
Possibly Arisaema limbatum.
It is common to see species such as Arisaema griffithii, speciosum and nepenthoides listed in commercial seed catalogues. Unless this seed has been very carefully stored, or is guaranteed fresh and moist packed, don’t buy it! It will almost certainly be dead and impossible to germinate.
Storing Arisaema seeds:
Arisaema seed may be safely stored without any significant loss in viability.
Ephemeral seeds need to be kept moist. This is absolutely essential! The best way to preserve them is to carefully clean the seed and allow to dry to the point that they no longer stick together, and store in a ziplock bag in the fridge. Place a small piece of moist kitchen towel inside the ziplock bag – this keeps the atmosphere within the bag nice and humid and prevents the seeds from drying out.
For other species, carefully clean the seeds. Allow to dry out and place inside clear a ziplock bag or glassine envelope. Store in the fridge until you are ready to sow.